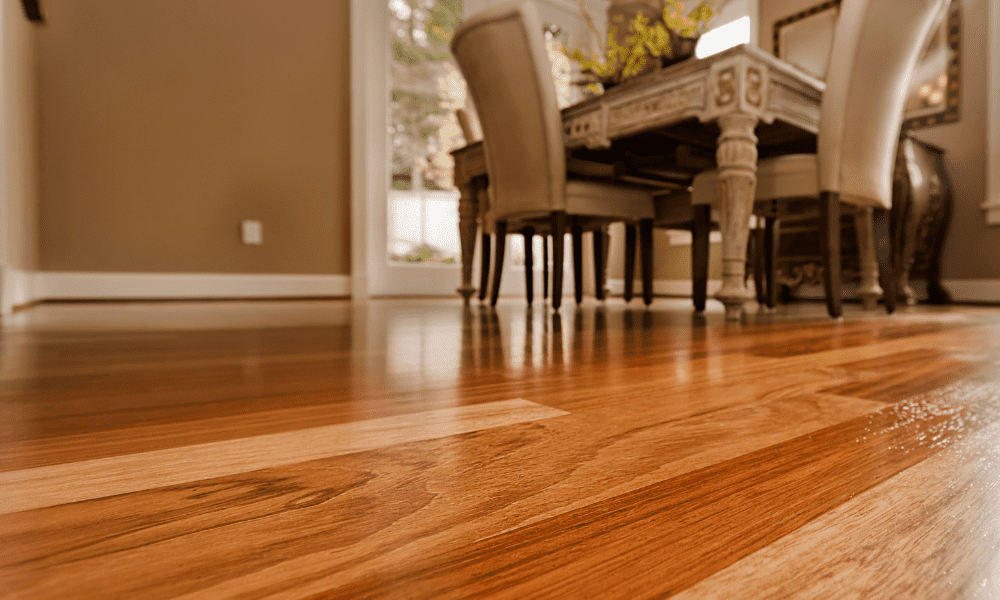
It happens a lot in that you move into a new house you just bought, or maybe you’re just getting around to doing something about the house you’ve lived in for a while. The carpet, tile, or other covering is somewhere along the spectrum from old and tired to outright disgusting. You pull back a little piece, and underneath it, you see hardwood, but not the beautiful, well-maintained surfaces that you’ve seen in photos or other people’s homes. These floors look battered. Is there any hope? The answer is absolutely. Hardwood floors are a beautiful accent in any room, and they are easy to care for after some initial hard work in getting them ready.
Budgeting
Even if you’re planning to do this job yourself, it’s going to cost some money. You’ll need some tools and other items, from masks and work gloves, to much larger equipment. You’ll need to rent a sander to get the best wood looking nice. In addition, there’s always the possibility of running into problems with the subfloor, which could add quite a lot to your budget as it will need to be repaired if there is damage.
Pulling Up Carpeting or Flooring
The first step is to take off all the baseboards. You can usually do this with a chisel to pull them away from the wall. Removing carpet, vinyl, linoleum, or tile is dusty, dirty work, and you’ll want a dust mask and potentially some kind of eye covering as well. Knee pads along with long pants and a long-sleeved shirt will make you more comfortable.
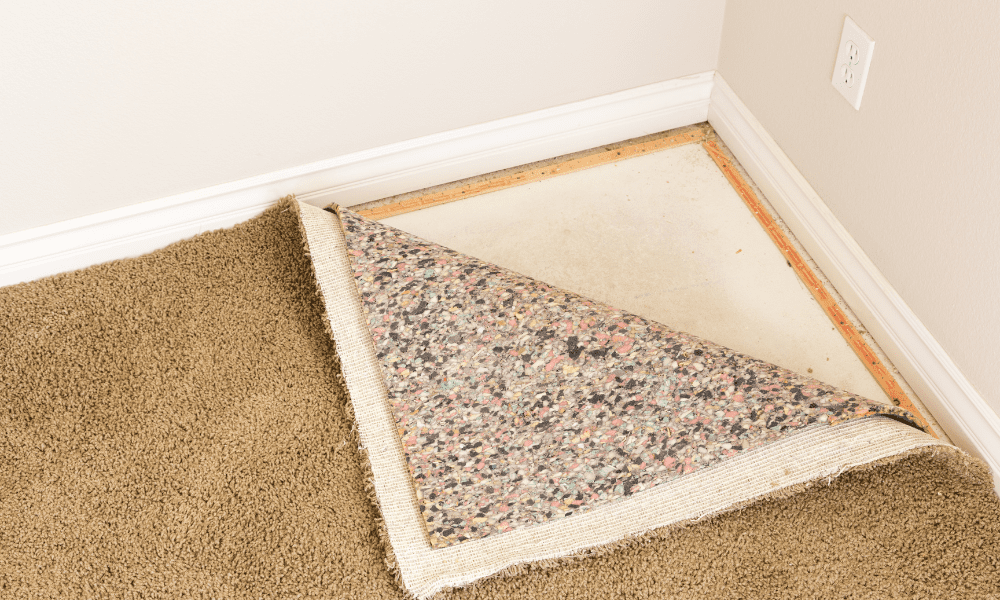
For carpet, you’ll need pliers, a box cutter and some duct tape. Before you get started in earnest, you can get a preview of what’s ahead by taking up a corner. Pull it up with pliers. There will probably be padding underneath that you can pull up as well. If the carpet is in really bad shape, it may be easy to rip it up in strips. You should cut or tear it and roll up the pieces, securing them with duct tape. Afterwards, there may be staples you need to get up using pliers or a flat-headed screwdriver, or you may need a scraper to clean up glue.
Flooring laid prior to the 1980s may have asbestos as part of the adhesive. You can contact an asbestos abatement company for safe guidance on how to have it tested to find out whether you can proceed with a DIY project. Vinyl or linoleum can be relatively easy to remove since the glue is usually only around the room’s edges. Slice the flooring into manageable strips with your utility knife. As with carpet, there may be glue to scrape away. You’ll need to pry up tiling as you pried off the baseboards, and you may need to crack the first piece with your chisel to get started. Once you’ve exposed the whole floor, you might worry about what you’ve set in motion. Don’t worry if the wood beneath it is in rough shape. There’s a lot that can be done to improve it.
Checking the Subfloors
Sometimes, what’s underneath is more than just a cosmetic problem. If there are spongy places, it might be necessary to replace parts of the subfloor. While technically this is also possible to repair as a DIY project, it is often a good idea to hire a professional at this point. It’s one thing to make a cosmetic mistake on your home decor, but this is about your house’s structural integrity. You also don’t want to do any damage to pipes, wires, or anything else that is in this area. A professional can evaluate the issue and let you know what solutions are available.
Sanding, Refinishing, and Restoring
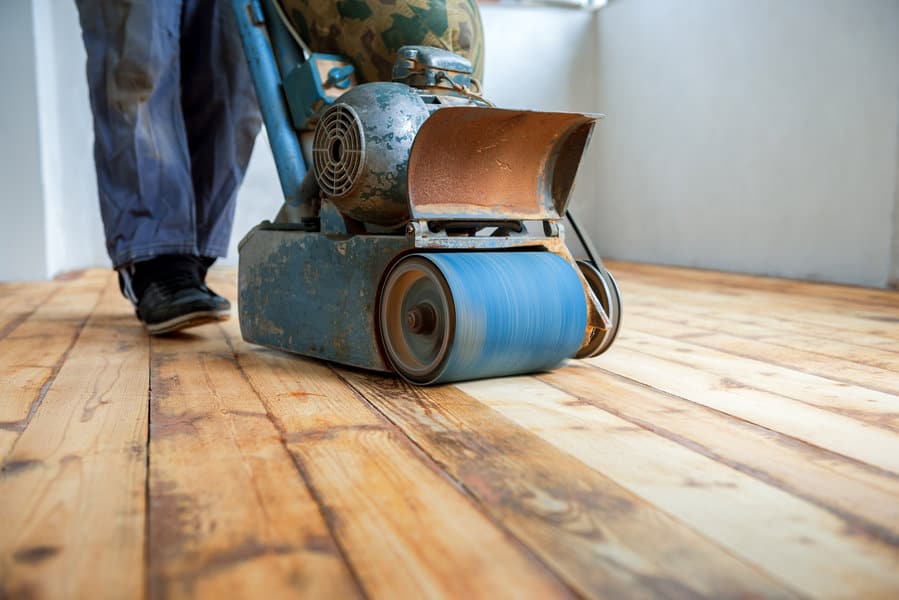
If everything looks good with the subfloor or you’ve had any issues fixed, it’s time to proceed to the final steps. Sweep up all the debris and dust. It’s possible that your wood might not need to be sanded and refinished. If a little water applied to it does not soak in, a thorough cleaning followed by a few applications of floor polish and restorer might be sufficient. The less fortunate, which is most people, will need to proceed with sanding and refinishing. You’ll need to rent equipment for this, possibly both a drum and an edge sander. The latter is for the corners while the former is for the rest of the room.
If you thought pulling up carpet or other covering was dusty, sanding can take that to a whole new level. It’s a good idea to not just close the door to the rest of the house but tape it up in order to ensure that you don’t cover everything else in dust as well. You can talk to the people you rent the machines from about how to use them and look at some videos online as well, but the basic idea is to keep moving. Standing still could dig gouges into the wood. How long you’ll need to spend on this will vary based on the amount of damage and the size of your room, but this is one task where patience is a virtue.
Once the sanding is done, you’ll need to clean everything again because you don’t want any dirt to get trapped in your final coats of polish and restorer. Be sure that you don’t use a robot vacuum or water for the cleaning since this can damage the hard work you’ve done so far. Once everything is as clean as you can possibly get it, it’s time to apply one to three coats of the polish and restorer. Now, you can stand back and admire your handiwork and the beautiful look of your old/new floors.