
Every parent has that one bin—the “crayons graveyard” filled with snapped, paperless, and abandoned crayons. You hate to toss them, but let’s be honest: no kid wants to color with a tiny, broken nub.
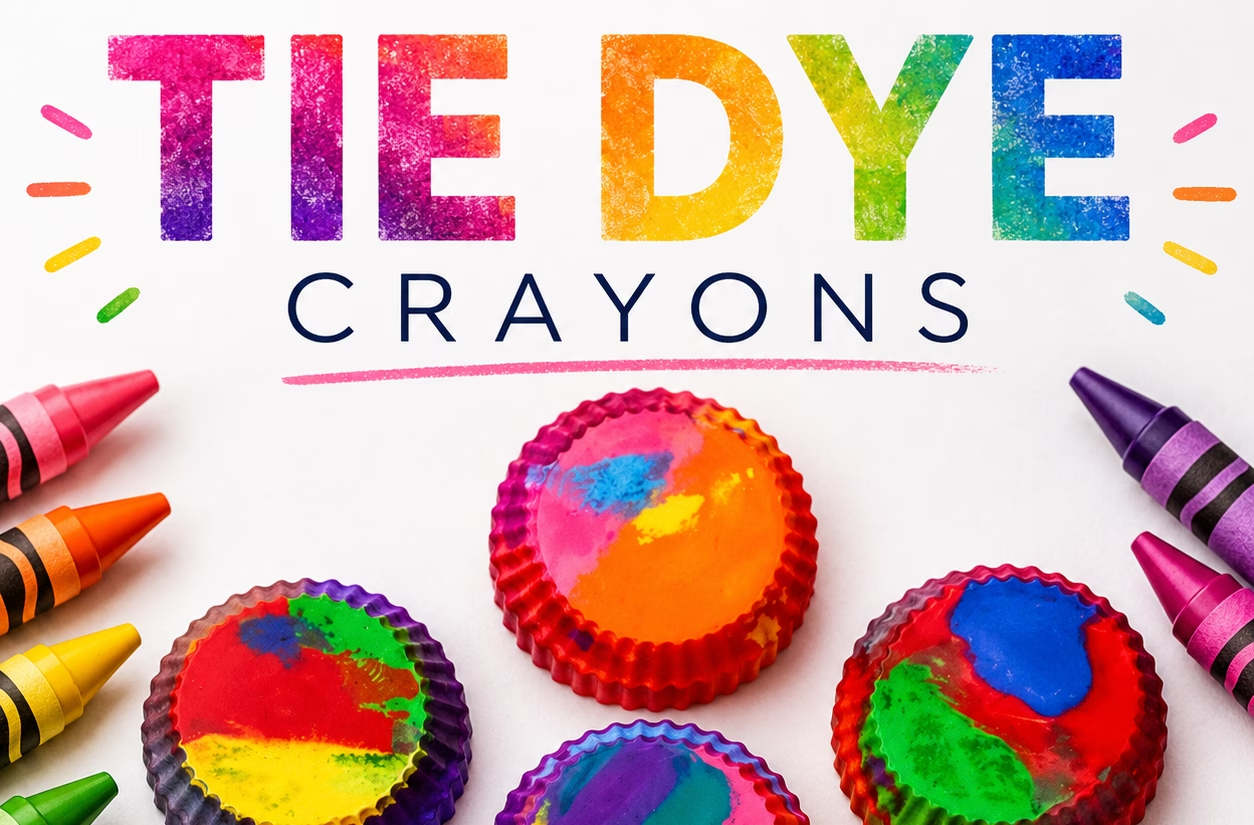
Turn that clutter into a fun afternoon craft! Follow this simple guide to upcycle those scraps into vibrant, chunky Tie-Dye Crayons that your kids will actually be excited to use.
What You’ll Need:
- Old/Broken Crayons (the more colors, the better!)
- Silicone Cupcake Molds or Shaped Silicone Trays
- A sturdy Baking Sheet (to act as a stable base)
Find More FUN FREEBIES for Kids!
Easy Instructions:
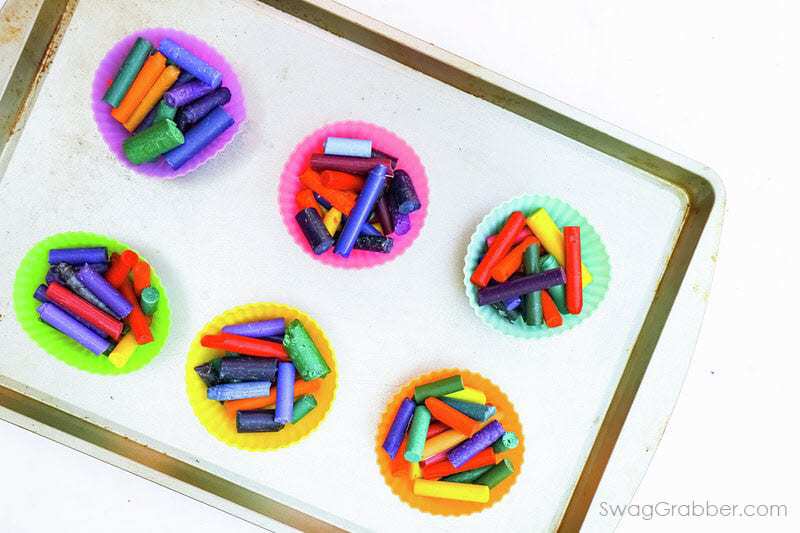
- Prep your workspace: Place your silicone molds onto a baking sheet. This makes moving them in and out of the oven effortless and prevents wax spills in your oven.
- Peel and Sort: Remove all paper wrappers. If the paper is stuck, soak the crayons in warm water for a few minutes to loosen the glue.
- Fill the Molds: Break the crayons into small pieces. To achieve that perfect “tie-dye” look, mix your colors randomly in each mold. Don’t be afraid to overfill them slightly—they will shrink as they melt.
- Melt: Preheat your oven to 250°F. Bake for about 10–15 minutes, or until the wax is completely liquid.
- Cool and Set: Carefully remove the baking sheet from the oven. Let the molds sit undisturbed until the wax is completely solid and cool to the touch.
- Pop and Play: Once firm, gently peel back the silicone to reveal your new jumbo crayons.
Great way to entertain kids this summer!
Pro-Tips for Success:
- Don’t Mix Dark and Light: If you mix too many dark colors (like black or brown) with light colors (like yellow or pink), your finished crayon may turn out a muddy grey. Try to keep “warm” colors and “cool” colors in their own molds!
- Use Fun Shapes: You don’t have to use standard cupcake liners. Check your kitchen for silicone molds in shapes like stars, hearts, or LEGO bricks for an extra fun touch.
- Kid Involvement: Peeling the paper is a great way to improve fine motor skills for toddlers—let them do the peeling while you handle the oven!
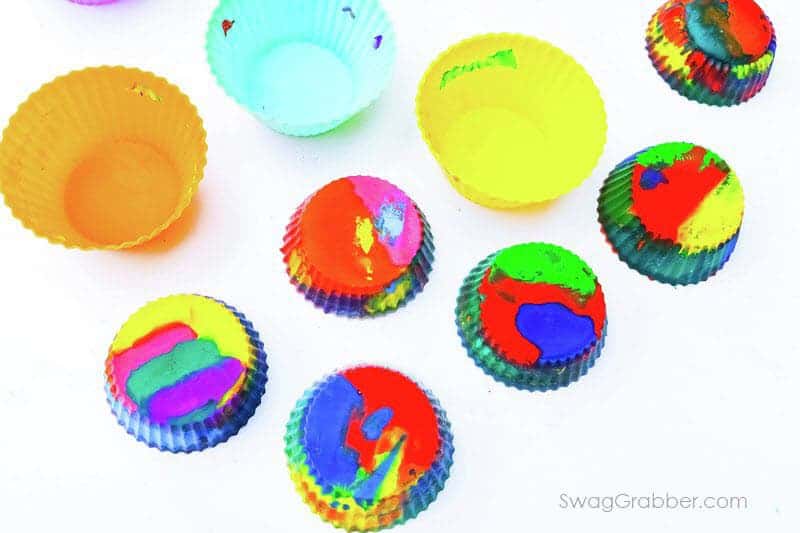
Color away! These make fantastic homemade birthday party favors or classroom gifts. Enjoy! 🙂
Frequently Asked Questions: DIY Tie-Dye Crayons
What kind of crayons work best for this project?
Any standard wax crayon works perfectly! Old, broken, and paperless crayons are the primary target for this project, but you can also use new ones if you want specific color combinations. Just be sure they are wax-based crayons (like Crayola) rather than “washable” or “oil pastel” crayons, which may not melt or set correctly.
Can I use metal muffin tins instead of silicone molds?
It is highly recommended to use silicone. Crayons are much easier to remove from flexible silicone molds once they have cooled. If you only have a metal tin, you must use paper cupcake liners inside the wells, but you won’t get the fun shapes, and the crayons may be harder to extract.
Are these crayons non-toxic?
Since you are using standard children’s crayons that are already labeled non-toxic, the melted product remains non-toxic. However, make sure you are using a dedicated silicone mold that will only be used for crafts, not for baking food afterward, to avoid any potential wax residue in your future muffins.
My crayons turned brown/grey when they melted—why?
This happens when you mix too many contrasting colors together—usually too many darks (blacks, blues, purples) mixed with lights (yellows, pinks, whites). To keep your tie-dye colors vibrant, try to group similar color families (like warm tones or cool tones) in each mold instead of tossing everything in together.
How long do the crayons need to cool before I can use them?
Patience is key here! It usually takes about 30–60 minutes for the wax to return to a completely solid state. If you try to pop them out while the center is still warm, the crayon may snap or deform. Placing the molds in the refrigerator for 15 minutes can speed up the hardening process if you’re in a hurry!