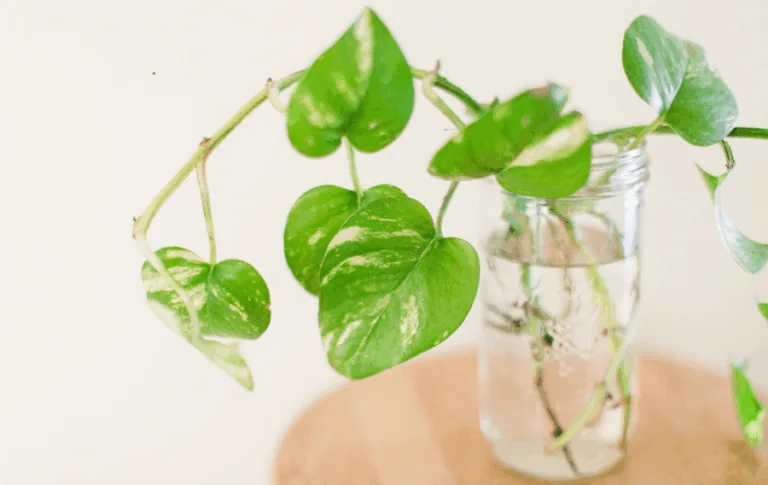
1. The Frozen Water Bottle Method — Our Go-To Fix
This is exactly what saved us today. Fill a water bottle completely full and freeze it overnight — it stays frozen for hours and keeps everything around it cold. Luckily I usually keep a water bottle or two in the freezer so I had one ready to go. Place it in any bag alongside your lunch and it doubles as your drink by lunchtime. Simple, free, and it actually works. What you need: Water bottle, freezer.2. The Aluminum Foil Wrap
Aluminum foil is one of the best heat reflectors you have in your kitchen. Wrap your lunch container completely in two or three layers of foil — shiny side out — to reflect heat away and keep cold air in. Add a frozen water bottle and you’ve got a surprisingly effective insulated lunch. What you need: Aluminum foil, rubber band or tape to secure it.3. The Bubble Wrap Lunch Bag
Believe it or not bubble wrap has natural insulating properties because of all those tiny air pockets. Wrap your lunch container in a layer of bubble wrap and place it inside a plastic bag or reusable shopping bag. Works great for short trips and those bubble pockets do a better job than you’d expect. What you need: Bubble wrap, plastic bag or reusable tote.4. The Newspaper Insulator
Old newspaper is a surprisingly effective insulator — it’s the same principle homeless shelters use to stay warm. Wrap your lunch containers in several layers of newspaper and place inside a bag. Not the prettiest option but it works remarkably well and costs nothing. What you need: Old newspaper, bag to carry it in.5. The Towel or Cloth Method
A thick kitchen towel or cloth wrapped tightly around your lunch containers traps cold air surprisingly well. The thicker the cloth the better. Wrap it tight, secure with a rubber band, and toss in your bag. Works even better if the towel is slightly damp and cold. What you need: Kitchen towel or thick cloth, rubber bands.6. The Cardboard Box Cooler
Cut a cardboard box to fit your lunch containers and line the inside with aluminum foil — shiny side in. Place your lunch inside with a frozen water bottle and close it up. The cardboard provides insulation and the foil reflects cold back onto your food. Works for several hours. What you need: Small cardboard box, aluminum foil, tape.7. The Frozen Sponge Ice Pack
Freeze a wet sponge in a zip lock bag overnight — it freezes solid, stays cold for hours, and doesn’t leak when it melts. Place it in an old sock to keep it from making your lunch wet and add it to any of the other methods on this list. Free, reusable, and works better than most store bought ice packs. What you need: Sponge, zip lock bag, old sock.8. The Styrofoam Container
If you’ve saved any styrofoam containers from takeout orders or shipping boxes you’re sitting on gold. Styrofoam is one of the best insulating materials available. Just place your lunch inside with a frozen water bottle or frozen sponge ice pack and you’re done. Works as well as any commercial cooler for a few hours. What you need: Styrofoam container, frozen water bottle or ice pack.9. The Double Bag Method
Place your lunch in one bag then place that bag inside a second larger bag. Fill the space between the two bags with crumpled newspaper, bubble wrap, or even dried leaves. The air pockets created by the stuffing act as insulation and keep the cold in longer than a single bag alone. What you need: Two bags of different sizes, insulating material to stuff between them.10. The Reflective Emergency Blanket Wrap
If you have an emergency or Mylar blanket in your car or first aid kit it makes an incredible lunch insulator. Mylar reflects nearly 97% of radiant heat which means it keeps cold things cold and hot things hot. Wrap your lunch tightly and it’ll stay cold for hours. You can find these at dollar stores for around $1 if you don’t already have one. What you need: Mylar or emergency blanket.⚠️ Quick Tip — Prevent Condensation Mess
Any frozen item will sweat as it thaws — and nobody wants a soggy lunch bag. Here’s how to protect your food:- Wrap your frozen water bottle or ice pack in a paper towel before placing it in your bag
- Put frozen items in a zip lock bag for an extra layer of protection
- Place frozen items on the side or bottom of your bag away from bread and anything that doesn’t do well with moisture
- A small hand towel wrapped around your ice source works great and absorbs any drips
Pro Tips for Keeping Your Lunch Cold Longer
- Pre-chill your container in the fridge or freezer before packing
- Freeze your sandwich bread slightly — it thaws by lunchtime and keeps everything cold longer
- Pack cold items together — they keep each other cold
- Use multiple small ice packs instead of one big one for better coverage
- Keep your lunch out of direct sunlight
DIY Insulated Cooler — Frequently Asked Questions
Keep Lunch Cold Without a Cooler — Your Questions Answered
What household items can I use to keep lunch cold? Aluminum foil, bubble wrap, newspaper, thick towels, styrofoam containers, and Mylar emergency blankets are all excellent insulators you likely already have at home. Combine any of these with a frozen water bottle or frozen sponge ice pack for best results. How long will a DIY insulated cooler keep food cold? Most of these methods will keep food cold for 2-4 hours depending on the outside temperature and how well you seal everything up. Pre-chilling your containers and using multiple layers of insulation extends that time significantly. What is the best DIY ice pack? A frozen wet sponge in a zip lock bag is one of the best DIY ice packs — it freezes solid, stays cold for hours, and doesn’t make a mess when it melts. A completely frozen water bottle works great too and doubles as your drink. Is aluminum foil good for keeping food cold? Yes — aluminum foil reflects radiant heat which helps keep cold air in and warm air out. Use multiple layers with the shiny side facing out for best results.Looking for more money saving tips? Check out our Living section for practical tips that save you money every day!