
FREE Fancy Feast Christmas OrnamentNov 9 – Nov 20, 2026
›
Don't Miss the Good Stuff! Get Freebie Alerts →
Take SwagGrabber With You! Get Our FREE App →
Get Social →




Want a FREE Advent Calendar? Make your own using empty toilet paper rolls and craft supplies you probably already have at home! This easy DIY Advent Calendar is perfect for counting down to Christmas. Fill each little box with candy, small surprises, or fun family activities.
And don’t stop at Christmas! Change the colors and decorations to make FREE countdown calendars for Valentine’s Day, Easter, Halloween, birthdays, and more. It’s a fun, inexpensive craft you can use all year long!
Traditional Advent calendars have 24 or 25 days, but this homemade version uses just 14 toilet paper rolls. It’s perfect for a two-week Christmas countdown! Want the full 24 days? Simply save a few more rolls and use a larger backing board.
For Christmas, I love using alternating red and green paper with numbered circles, snowflakes, and a few little decorations. You can also use kraft paper and ribbon for a more neutral look.
You don’t have to fill every box with candy or spend money on 24 little gifts. Mix inexpensive treats with free activities and handwritten surprises!
Money-saving tip: Write activities on small pieces of paper instead of buying a gift for every day. Kids often enjoy the surprises just as much as the treats!
The hardest part of this project might be remembering to save 14 empty toilet paper rolls! LOL. Everything else is pretty basic, and you can usually find what you need around the house or at the dollar store.
This is an easy afternoon craft, and kids can help with the decorating and filling. Adults should handle the hot glue gun.
Cover your cardboard box or backing board with black construction paper using hot glue. This creates the base for your countdown calendar.
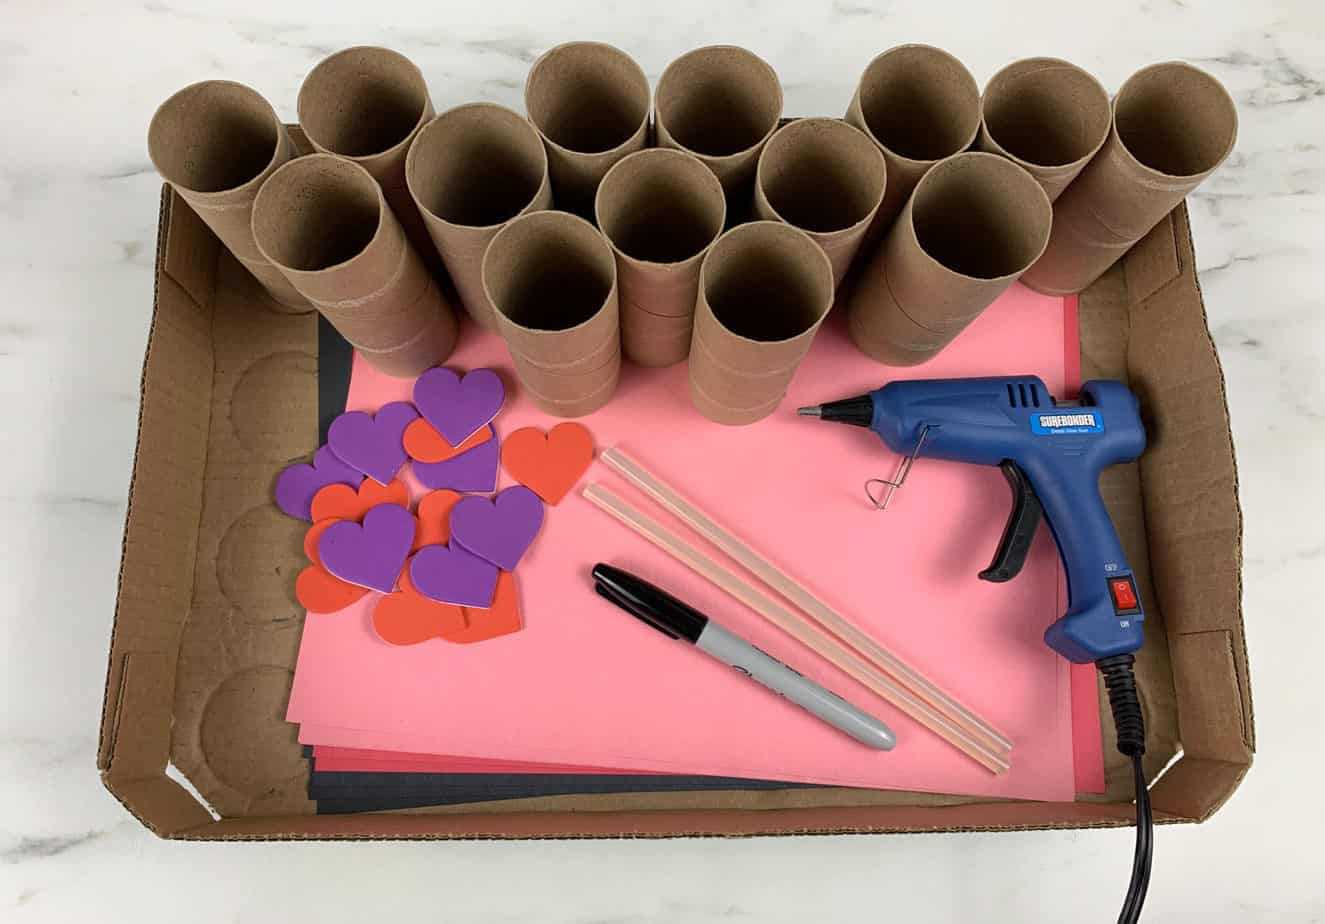
Cut construction paper to fit around each toilet paper roll. For Christmas, alternate red and green. For the original Valentine’s Day version shown in the tutorial photos, I used seven pink and seven red rolls.
Glue the paper around each roll, covering the cardboard completely.
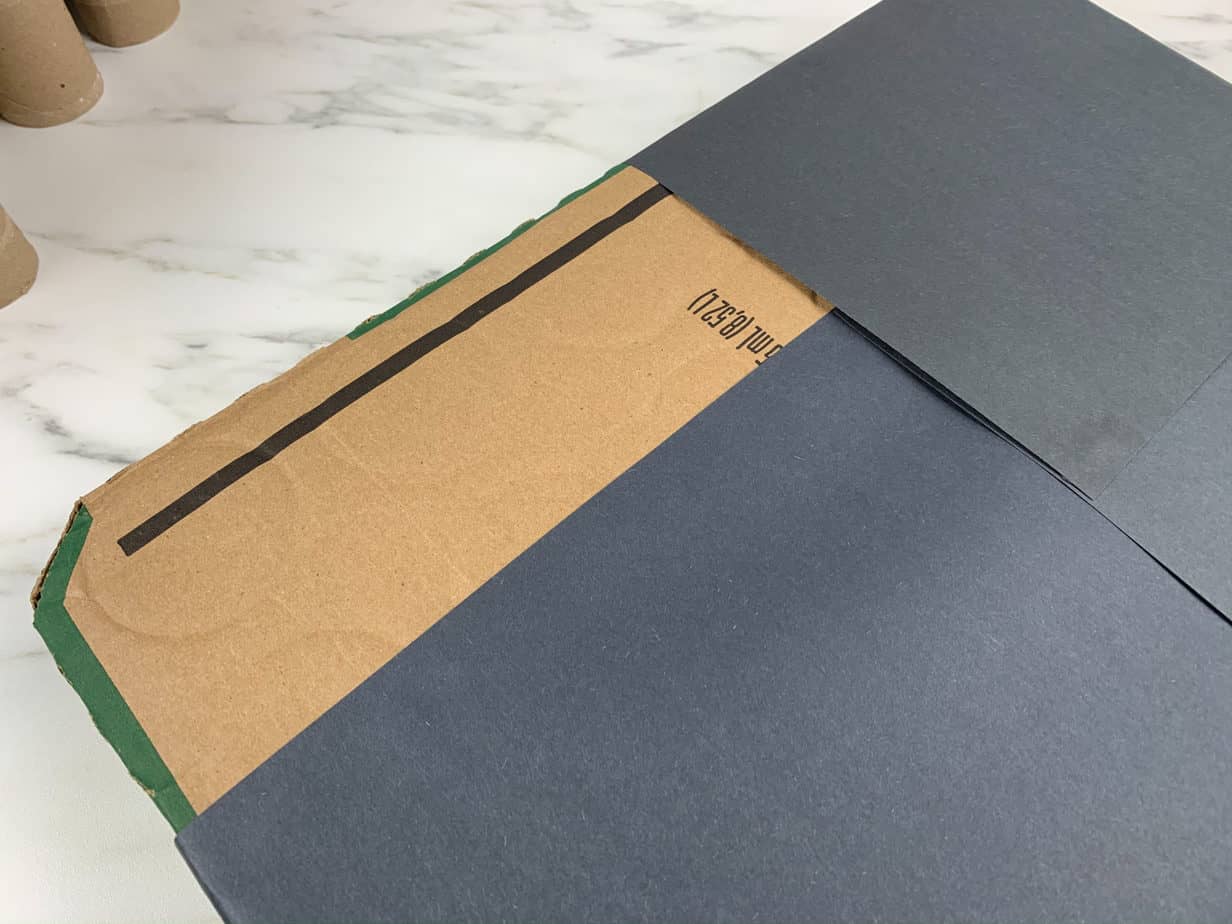
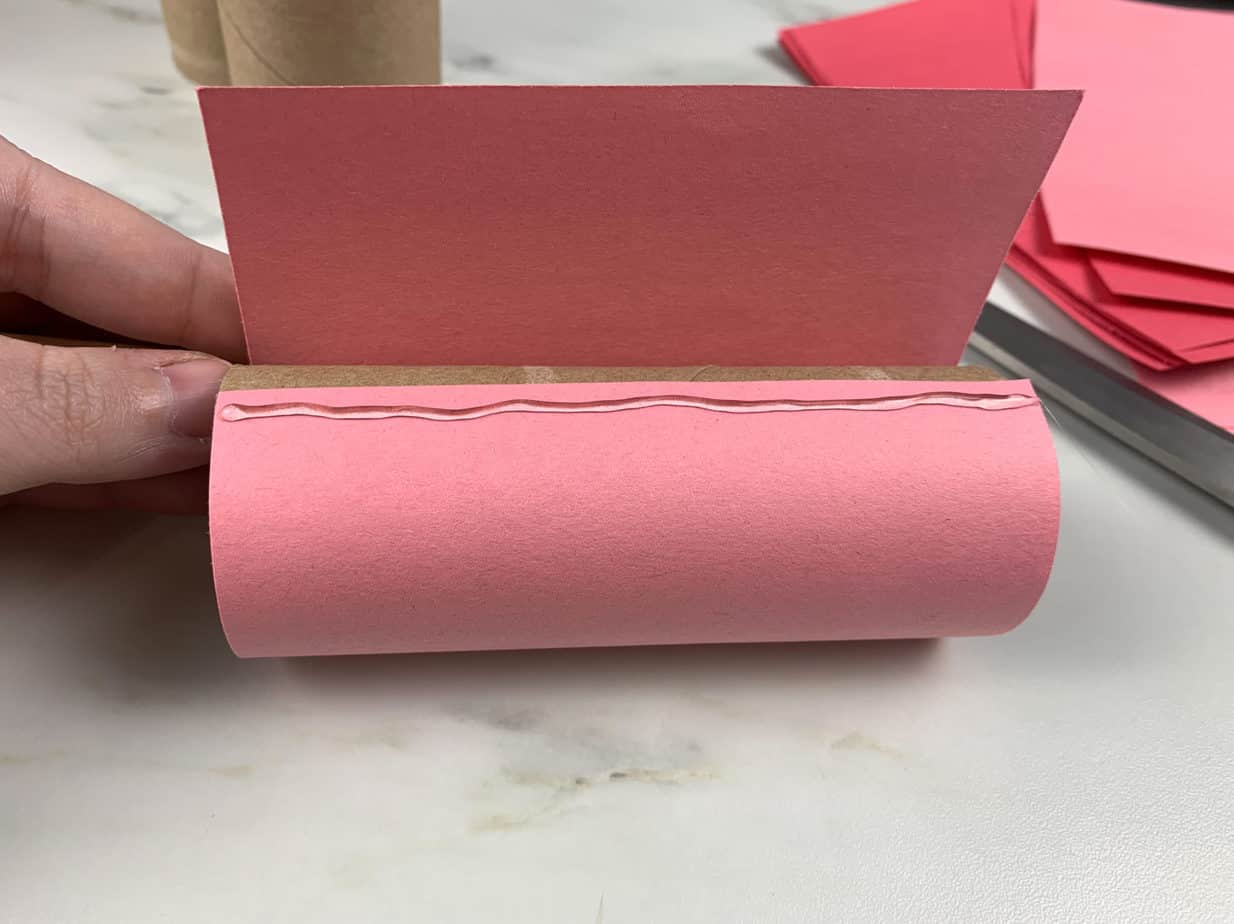
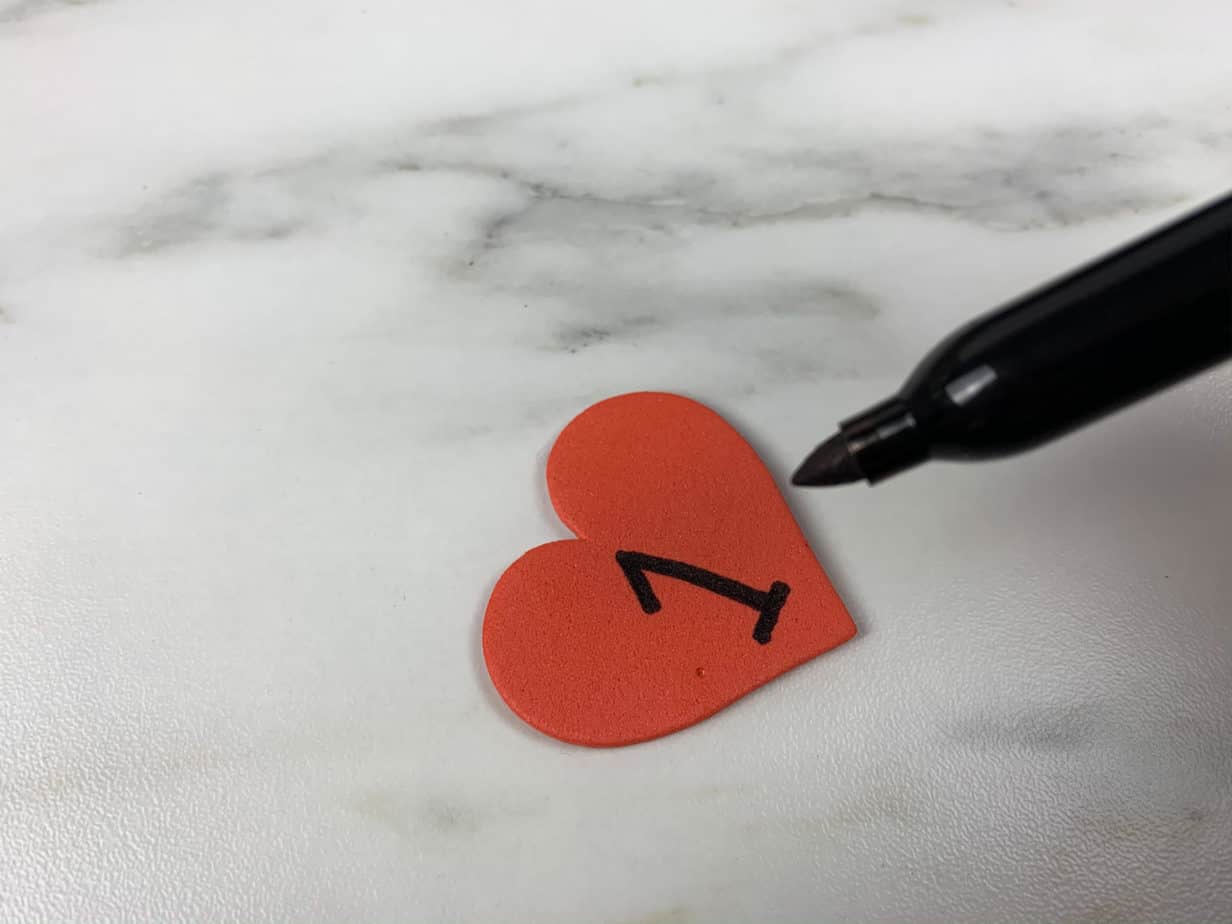
Number your rolls from 1 to 14, or 1 to 24 if you’re making a full Christmas Advent calendar. Use paper circles, foam stickers, or whatever decorations you have available.
For Christmas, try white numbered circles with snowflakes. For Valentine’s Day, heart-shaped stickers work perfectly!
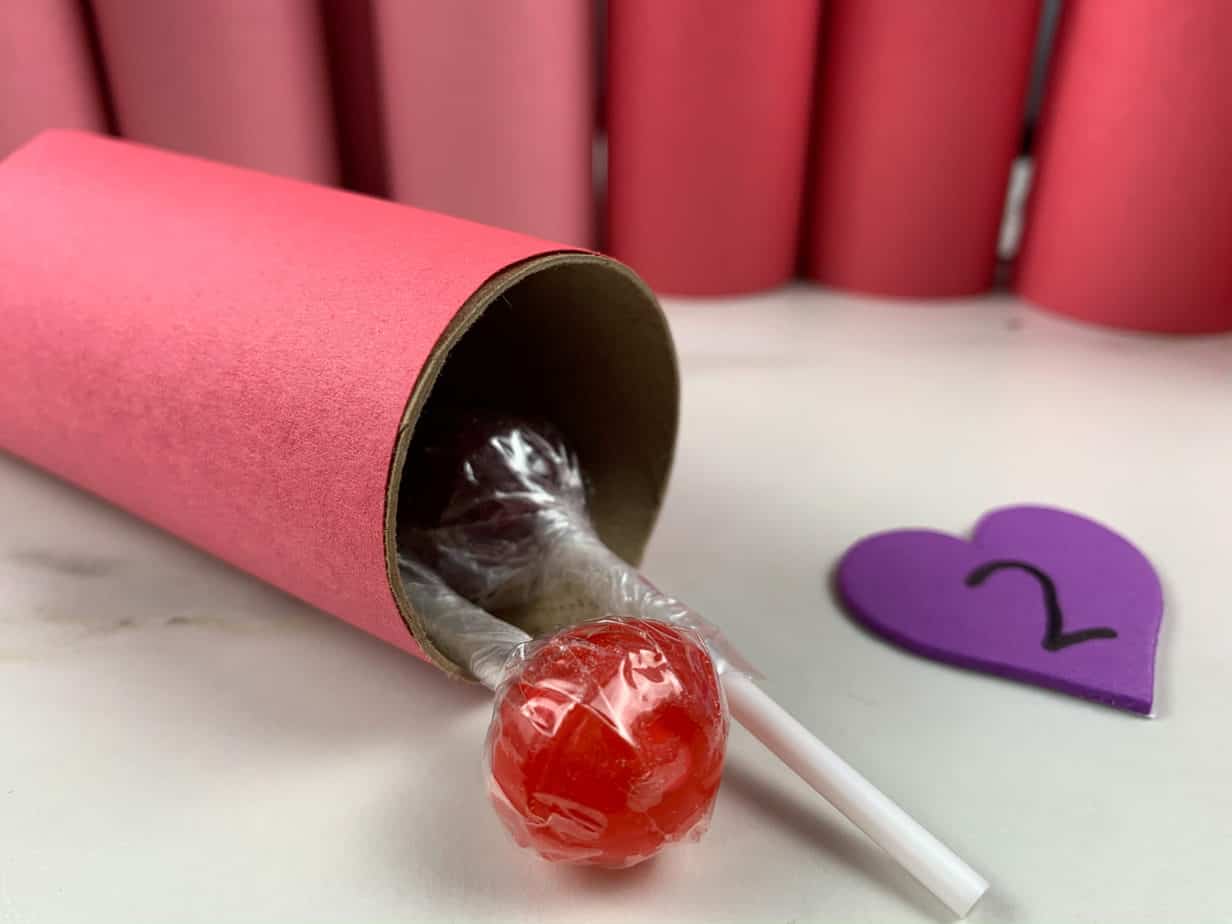
Fold one end of each toilet paper roll inward to create a little pillow box. Add a wrapped treat, small gift, or folded activity note, then fold the other end closed.
Repeat until all the rolls are filled. You can mix candy with activities to keep the cost down.
Arrange your finished rolls in two rows of seven for a 14-day countdown. Once you’re happy with the placement, glue them securely to your cardboard backing.
For Christmas, you can finish the board with a small bow, a paper Christmas tree, or a simple Christmas Countdown label.
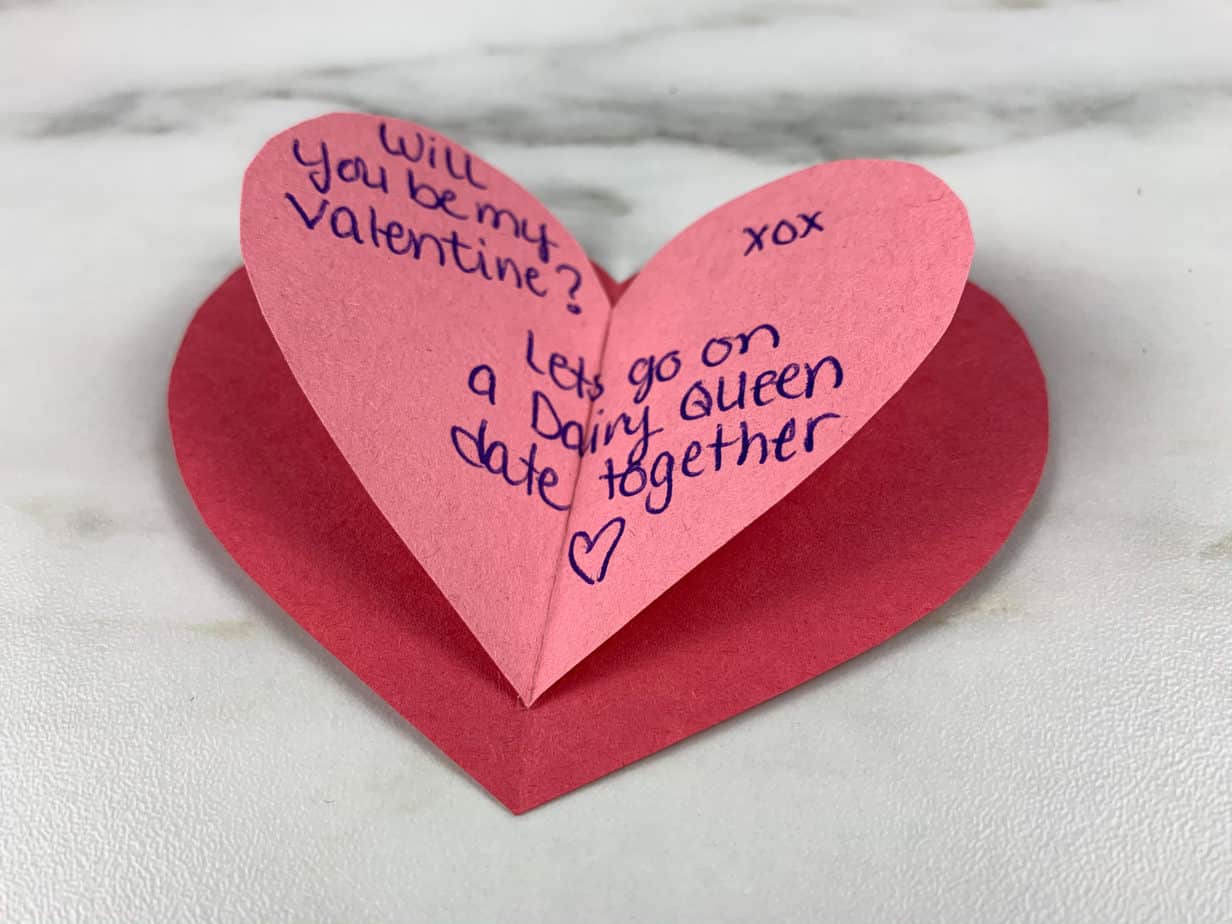
And that’s it! You’ve got a homemade countdown calendar filled with little surprises.
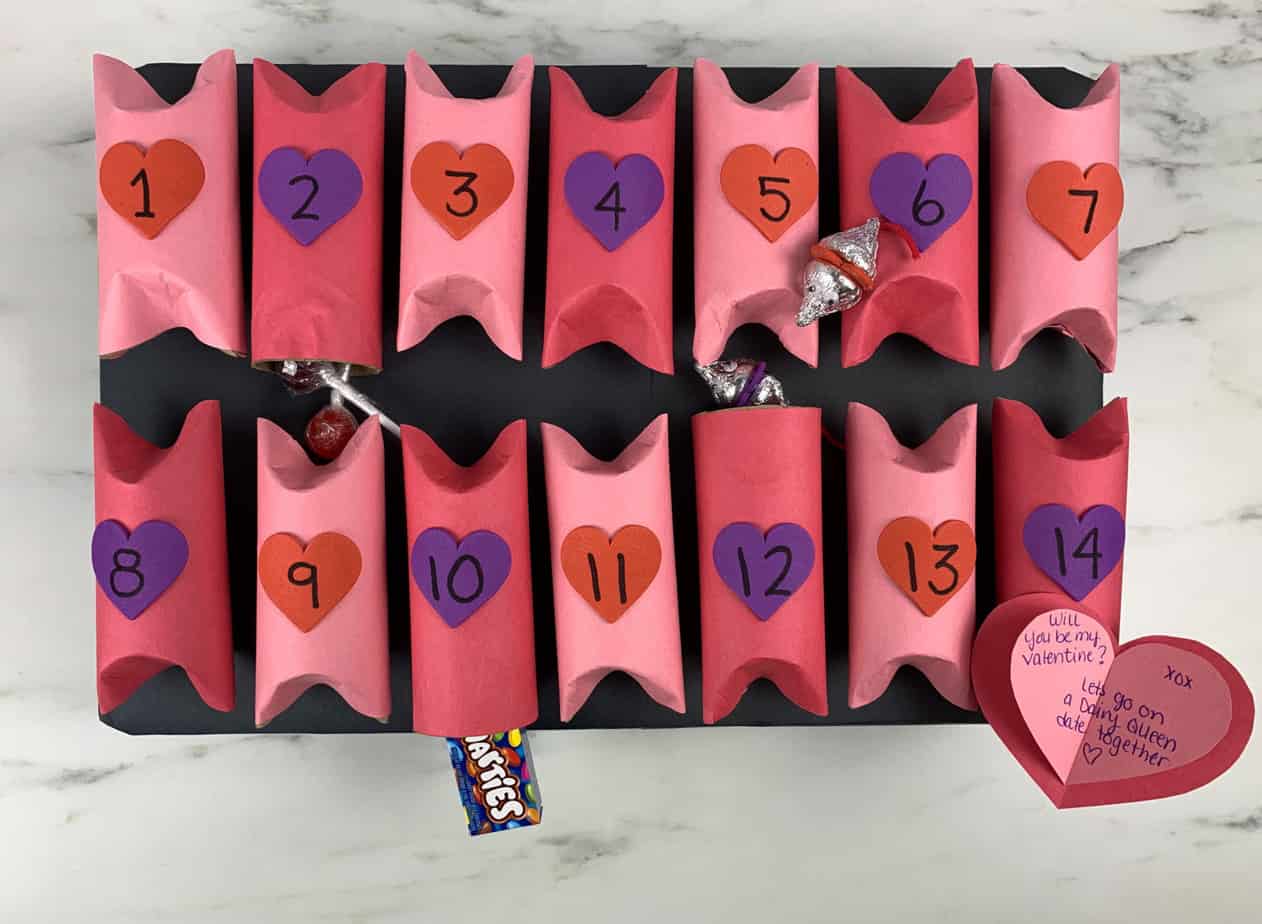
Christmas is just the beginning! You can use the same basic project for almost any holiday or special occasion. Just change the paper colors, numbers, and surprises.
Use pink and red construction paper with heart-shaped stickers, just like my original project. Fill the rolls with candy, love notes, compliments, or little date-night ideas. For kids, include fun activities or acts of kindness.
On the final day, tuck in a special Valentine’s Day message!
Swap the Christmas colors for pastels and fill the boxes with Easter candy, stickers, egg hunt clues, or little spring activities. You could even include a different clue each day leading up to a special Easter surprise.
Use orange, black, and purple paper with spooky stickers. Add wrapped Halloween candy, temporary tattoos, silly jokes, or activities like carving pumpkins and watching Halloween movies.
Make a gratitude calendar using fall colors. Each day can include something your family is thankful for, a simple act of kindness, or a fun Thanksgiving activity.
This is a fun way to build excitement before someone’s birthday! Fill the boxes with favorite snacks, handwritten notes, small gifts, or activities like choosing dinner or picking a family movie.
This is one of those crafts that’s inexpensive, easy to customize, and fun to bring back for different holidays. And turning something you’d normally throw away into a cute little countdown calendar makes it even better!
Check out the latest Advent calendar deals for ready-made options!